Website by 
Resources
The Right Order of Operations for a Whole-Home Renovation

Renovating your whole house — or most of it — is a completely different animal than redoing a single bathroom. The projects overlap, the trades stack on top of each other, and a decision made in the kitchen can ripple all the way to the attic. Get the sequence right, and the project hums along. Get it wrong, and you're tearing out brand-new work to fix something that should have come first.
In Rochester and across Western New York, whole-home renovations are especially common because so much of our housing stock dates from the early and mid 1900s. These homes have great bones and real character, but they often need updated systems, insulation, and layouts all at once — which makes sequencing even more important.
Here's the order of operations we follow as a design-build firm, and why each step sits where it does.
Step 1: Design and Planning — All of It, Up Front
The single biggest mistake in whole-home renovations is designing the project one room at a time. Your house is a system. The kitchen layout affects plumbing runs to the bathroom above it. A new beam in the living room affects the load path down to the basement. Electrical capacity has to cover everything you're adding, not just the first phase.
Before demolition starts, you want a complete design that covers:
- Full scope and floor plans — every room, even ones being touched in a later phase
- Structural review — especially walls coming down and floors carrying new loads
- Mechanical capacity — can your panel, furnace, and water service handle the finished house?
- Permits — Monroe County municipalities each have their own process, and applying once for a coordinated scope beats piecemeal permits
- Budget and phasing plan — what happens first, what can wait, and where the contingency lives
This is exactly where the design-build model earns its keep: when the people drawing the plans are the same team building them, the design is grounded in real construction sequencing from day one.
Step 2: Structure and Foundation Come First
Anything that touches the bones of the house happens before anything pretty. That means foundation repairs, beam and load-bearing wall changes, framing for new openings, and correcting any sagging floors — a familiar issue in Rochester's century-old homes.
Why first? Because structural work is disruptive by nature. Jacking a floor level by even half an inch will crack new drywall and rack new cabinets. Do the heavy lifting while the house is still open and forgiving.
Step 3: Seal the Envelope — Roof, Windows, Siding
Before you invest a dollar in interior finishes, the house needs to be weathertight. In a climate that throws 80-plus inches of snow and hard freeze-thaw cycles at your home every year, this isn't optional:
- Roof repairs or replacement, including flashing and ice-dam protection at the eaves
- Window and exterior door replacement, properly flashed and sealed
- Siding, trim, and masonry repairs that keep water out of the walls
- Gutters and grading that move meltwater away from the foundation
A leaking roof over a freshly renovated second floor is a heartbreak we never want you to experience. Envelope first, finishes later.
Step 4: Rough-In the Mechanicals While the Walls Are Open
This is the stage homeowners never see in the after photos, and it's the most valuable one. With walls and ceilings open, your plumbing, electrical, and HVAC get routed cleanly and updated fully:
- Electrical — panel upgrades, new circuits, and replacing the knob-and-tube or undersized wiring still hiding in many older Rochester homes
- Plumbing — replacing galvanized supply lines, rerouting drains for new layouts, adding future-proof shutoffs
- HVAC — right-sizing equipment, extending ductwork, or adding mini-splits for additions and finished attics
- Low voltage — network cable, speaker wire, and security wiring cost almost nothing now and a fortune later
Opening finished walls twice is the most expensive habit in remodeling. Whatever might happen in the next decade, rough it in now.
Step 5: Insulation and Air Sealing
With mechanicals inspected and approved, insulation goes in — and in Western New York, this step pays you back every single month. Air sealing around penetrations, proper insulation in walls and rim joists, and serious attention to attic R-value will change how the house feels in February and what you pay to keep it that way. Many older homes here were built with little or no wall insulation at all; a whole-home renovation is the one chance to fix that everywhere at once.
Step 6: Drywall, Then Finishes — In the Right Order
Once the house is closed up, finish work flows in a deliberate sequence designed to protect each layer of work from the next:
- Drywall, taping, and priming
- Trim, interior doors, and built-ins
- Cabinetry, then countertop templating and installation
- Tile and hard flooring (carpet waits until nearly the end)
- Paint, fixtures, hardware, and final electrical and plumbing trim
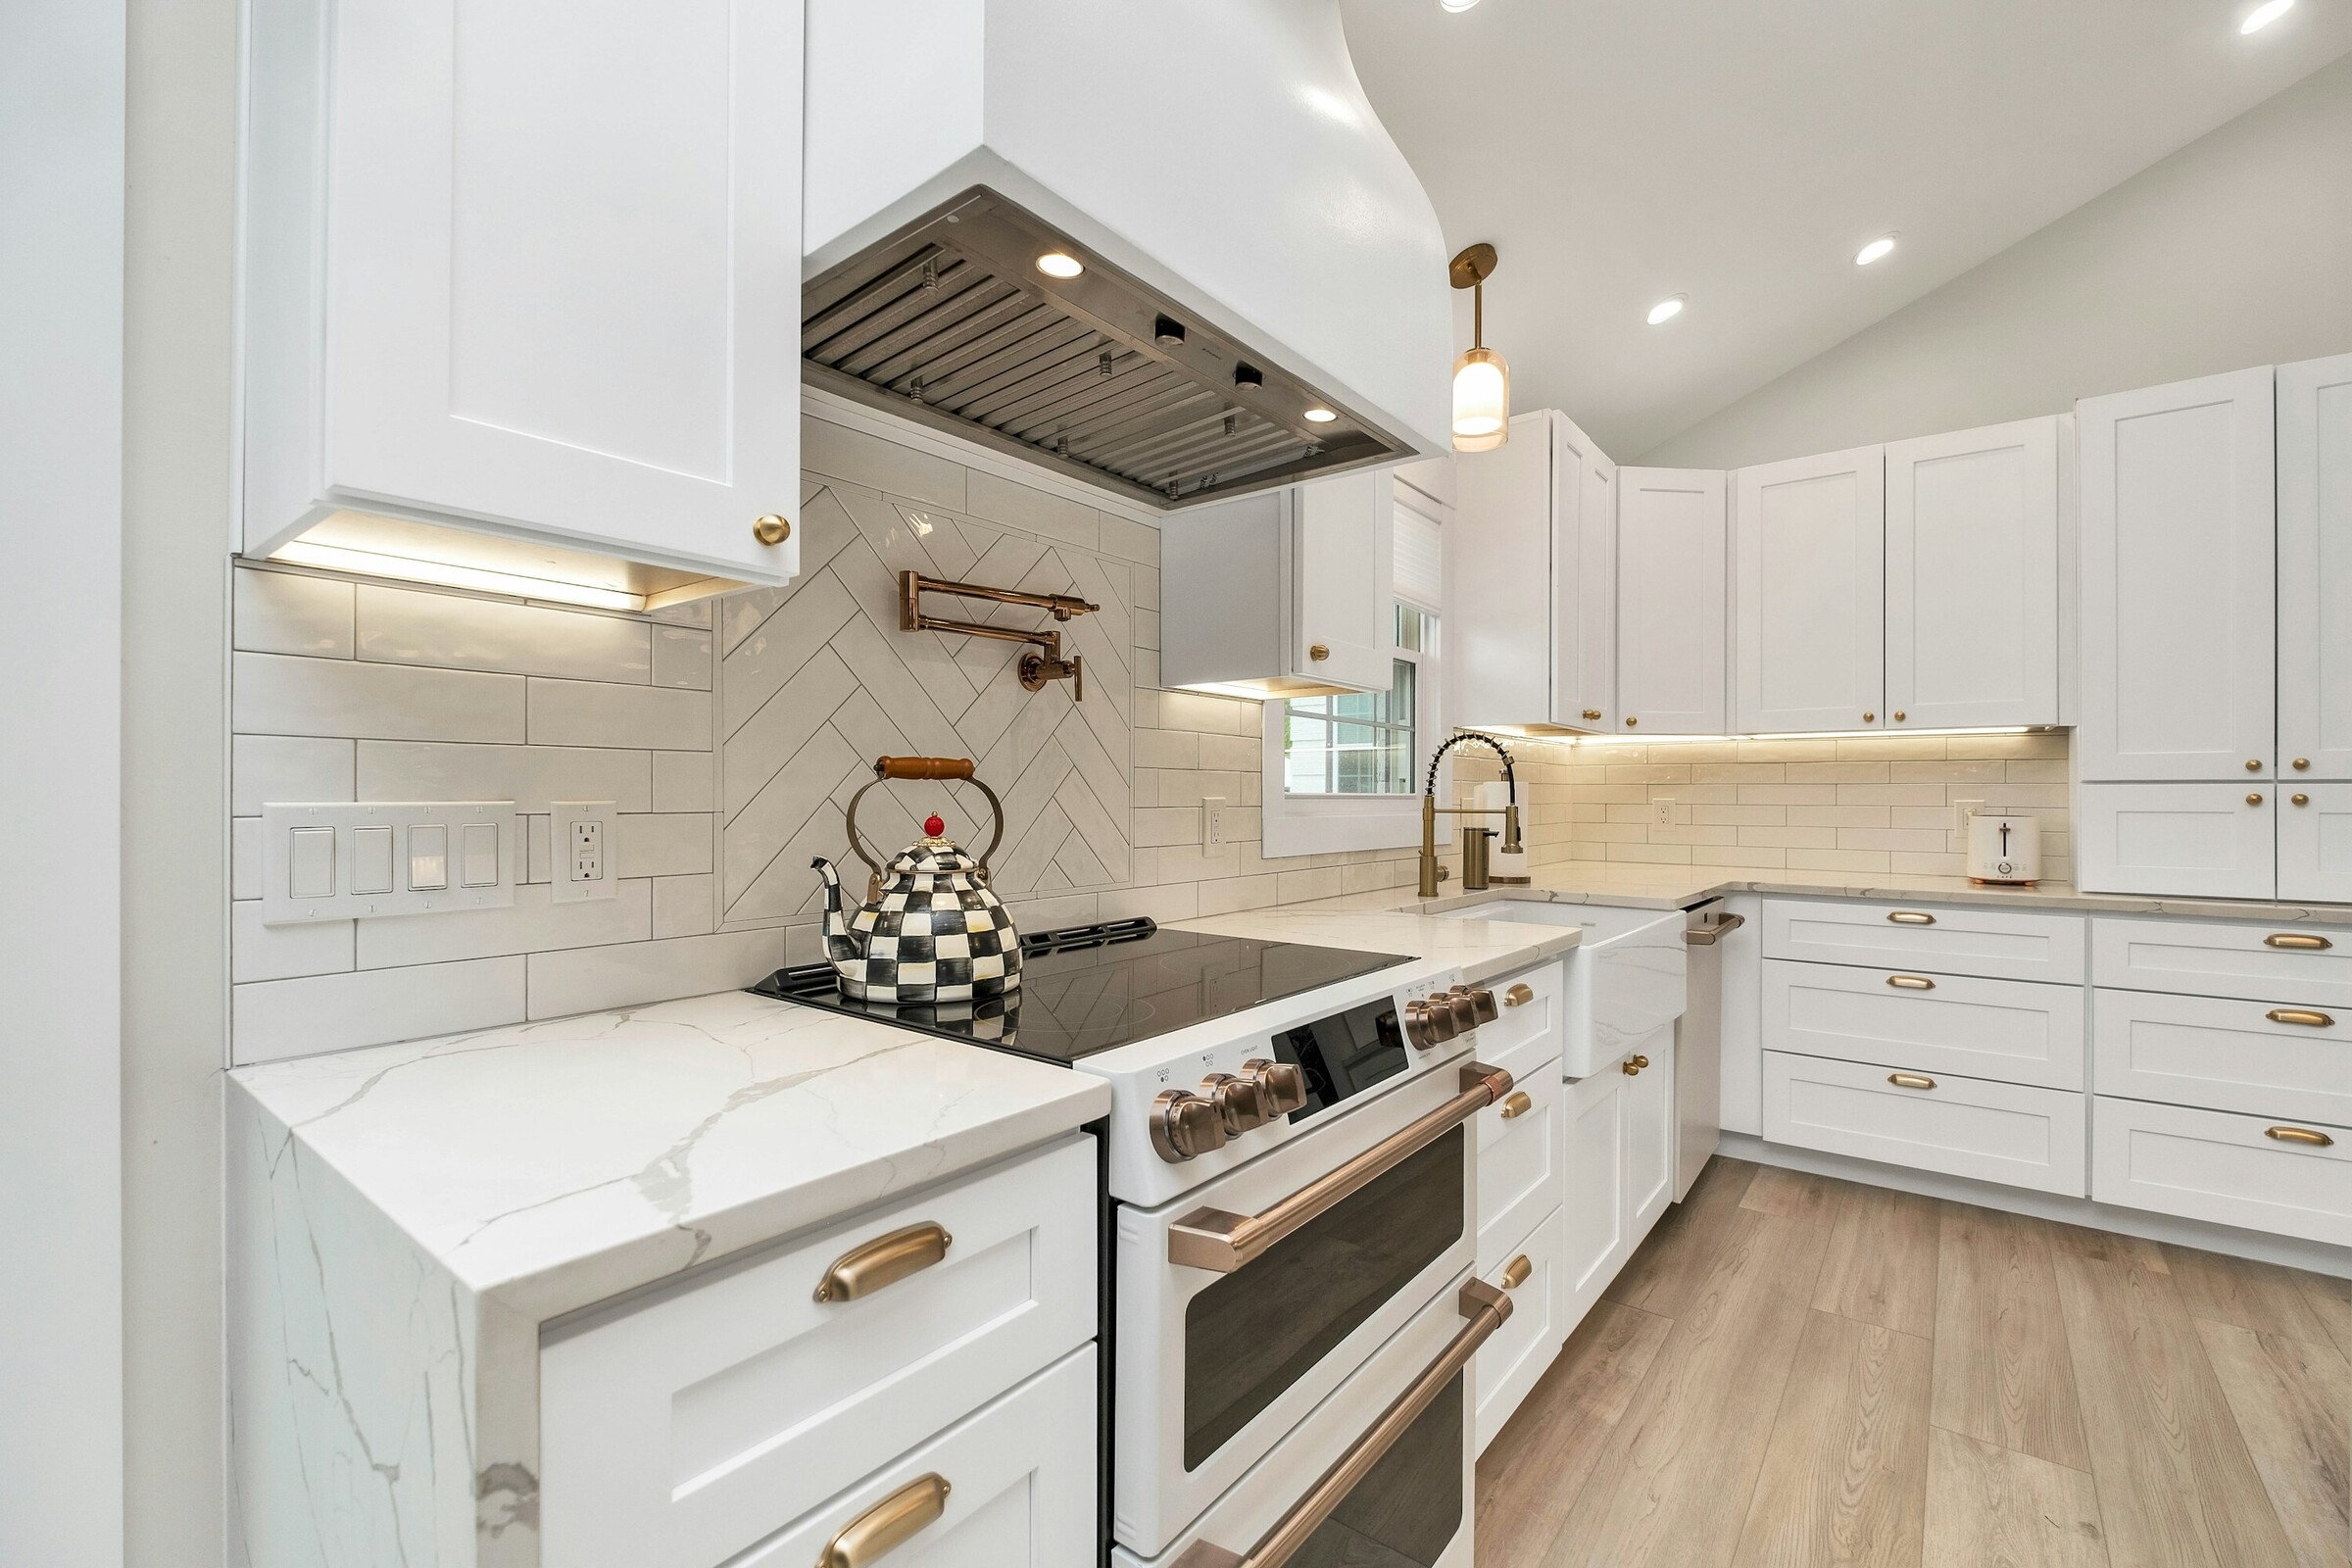
Kitchens and bathrooms slot into this stage as the most intensive rooms, with their own internal sequencing. The principle holds throughout: messy and heavy before clean and delicate.
Step 7: Punch List, Inspections, and the Walkthrough
The last few percent of a renovation is where good firms separate themselves. Final inspections get signed off, every door gets adjusted, every paint touch-up gets handled, and you do a full walkthrough with the team before the project is called done. You should end a whole-home renovation with a binder of permits, warranties, and product information — not a stack of loose ends.
Can You Live in the House During All This?
Sometimes — and the phasing plan from Step 1 is what makes it possible. Many of our Rochester clients stay in the home by sequencing work in zones: keeping one functioning bathroom online at all times, setting up a temporary kitchen, and scheduling the dustiest phases around family life. Other times, the math favors moving out for a stretch so the crew can move faster. There's no single right answer, but it's a decision to make deliberately, before demolition day.
If you're trying to figure out how a whole-home project could be staged around your family and your budget, talk it through with Ember Works — we'll help you map a realistic sequence before anyone swings a hammer.
One Team From First Sketch to Final Walkthrough
Whole-home renovations fail in the handoffs — between designer and contractor, between trade and trade, between phase and phase. As a true design-build firm with in-house designers and a build team carrying 60+ years of combined hands-on experience, Ember Works eliminates those handoffs entirely. One team owns the plan, the schedule, the budget, and the result, from Rochester city neighborhoods to homes across Monroe County and Western New York.
If your house needs more than a room-by-room patch job, let's build the right plan — in the right order.
Ignite Your Home's Potential with Ember Works!
Call us today: 585-465-1674
Contact Us: www.emberworksroc.com/contact-us
‹ Back
Recent Posts
-

The Powder Room: Big Style in Your Home's Smallest Room
July 25, 2026
-

-

-

Kitchen Flooring That Survives Rochester Winters
July 14, 2026
-